House painters are usually small businesses that involve 1-5 people. Typically they’ll have insurance to cover your property and their crews’ safety in case someone gets hurt on the job. Contact Painters Anchorage for professional help.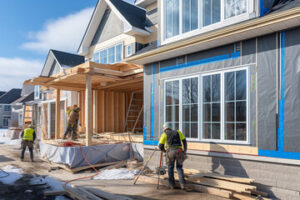
Painting has been a profession since the early 1200s when house painters in England formed guilds that established painting as a recognized field with specific standards. They often hid their paint-mixing skills as closely held secrets to protect their way of making a living.
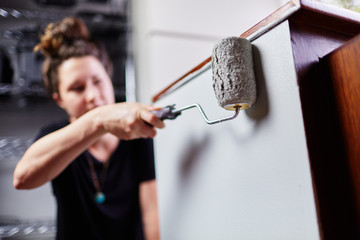
Professional painters understand the business of painting, and they are well-versed in efficient work practices. They know what kind of materials and tools to use for each job, and they can complete the task in a fraction of the time it would take an inexperienced homeowner. Furthermore, they can save you money in the long run by delivering quality results that last for years to come.
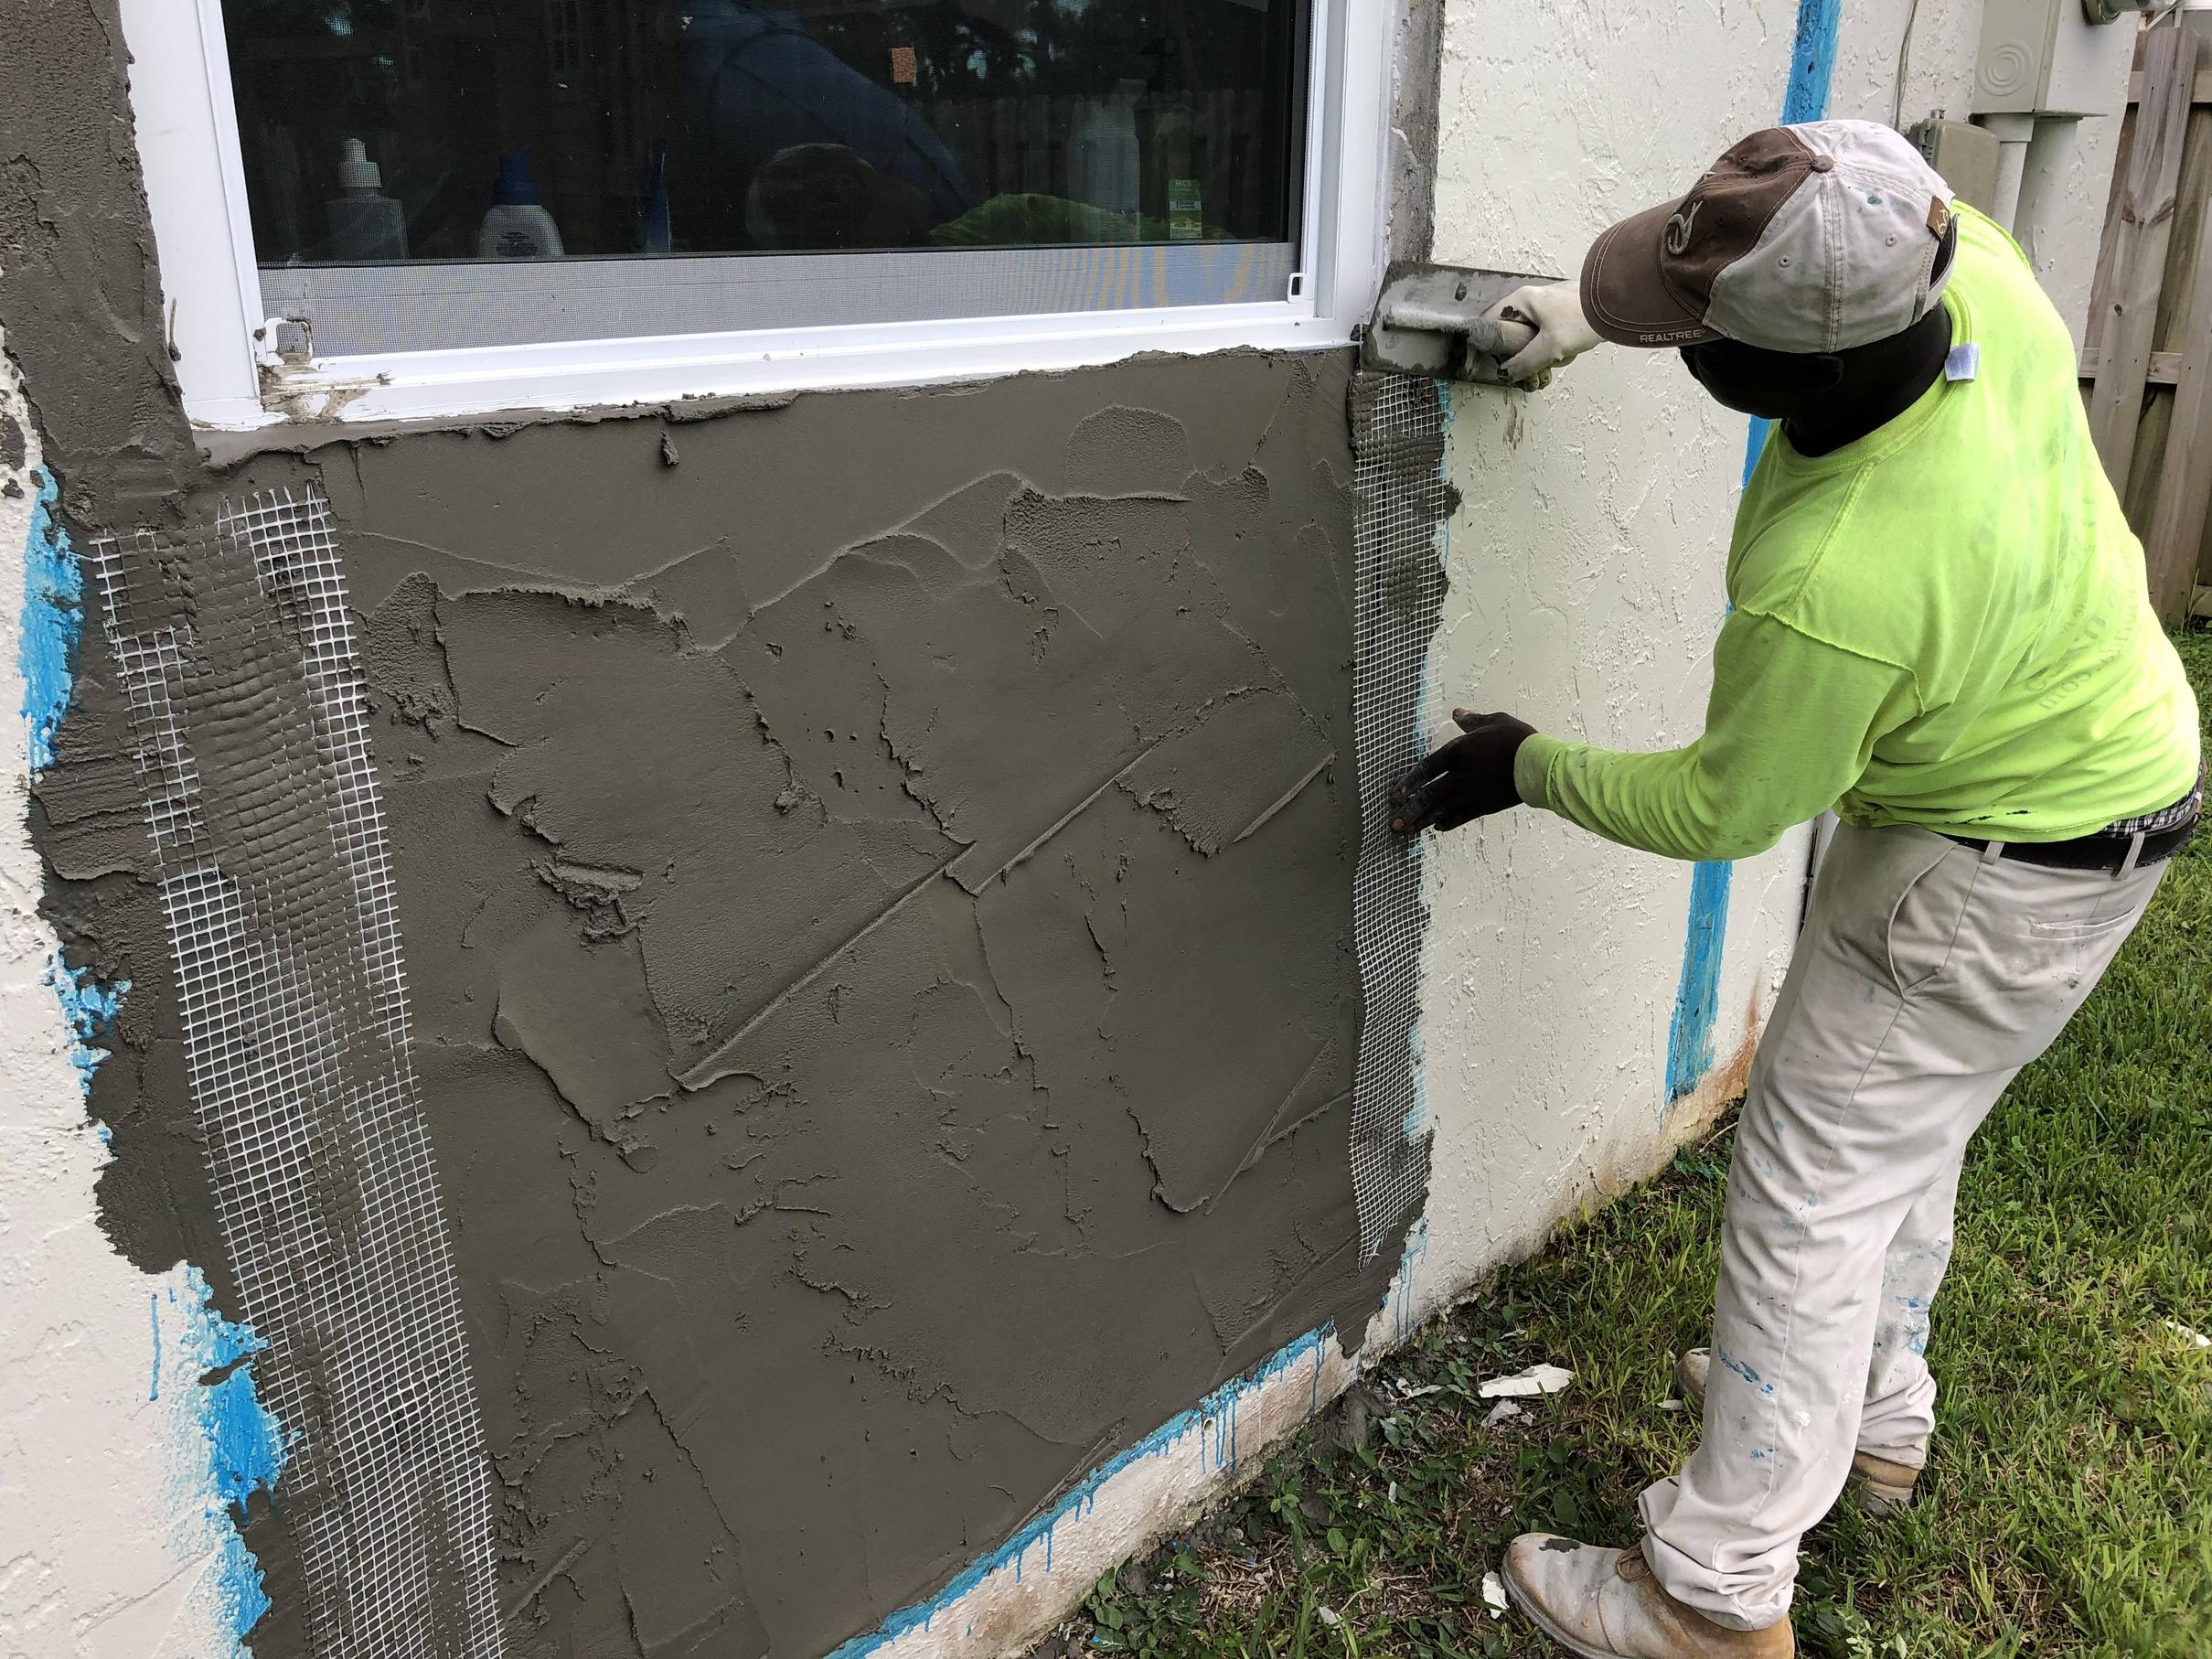
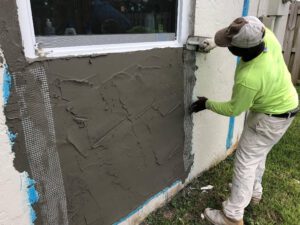
In addition, house painters are trained in safety protocols when working at heights and handling hazardous materials. This protects them from serious injuries that can occur during the painting process. They also know how to properly prepare surfaces for paint and apply it evenly, resulting in a flawless finish. In addition, they can help you select the right colors and textures to create a unique look for your home.
Many homeowners underestimate the amount of time and effort that goes into a painting project. They think that choosing the right color is all that matters, but that’s only 25% of the process. The rest is in the preparation, application, and cleanup. Professional painters can do the job much faster than the average homeowner, and they’ll do it correctly so that your home is ready for new residents.
Aside from the actual painting, a professional house painter will also take care of any prep work that’s needed. This includes covering plants around the house, removing window screens, and cleaning up any paint spills. They will also clean up once they’re done, ensuring that the area is free of dust and debris. This ensures that the job will be completed without causing any disruptions to your daily life.
A professional house painter will have access to equipment that most homeowners don’t, including ladders, scaffolding, and specialised rollers. These are all tools that can be dangerous to operate if you don’t have the proper training and experience. Additionally, house painters will often have insurance that covers them in case they suffer an injury while on the job. This protects you from liability and allows you to get the job done without worrying about a potential lawsuit.
Expertise
Painting is a complex job that requires many skills and tools to do well. A professional house painter will know how to apply the correct coats of primer and finish to a surface. They will also be able to repair any cracks or peeling on walls and trim. A good house painter will also be able to choose the right color for a home.
When choosing a house painter, get referrals from friends and family who have used them recently. If possible, try to meet with the painters and see their work in person. This will help you to feel confident that they can do the work properly and to your satisfaction. Ask the painters about their experience and what kind of work they have done in the past. Obtain a written estimate that clearly shows all charges including labor, time frame, materials and paint, travel (if charged), and any other details you may want to include in your project. Also ask the painters to show you their liability and workers compensation insurance certificates. This will protect you if the painter accidentally damages your property during the work or a member of his crew gets hurt on the job.
House painters often use power tools such as cordless drills, electric caulking guns, and spray-painting equipment. These can be dangerous, so a good painter should be familiar with using them safely. It is also important for a painter to be physically fit, as they will be on their feet for long periods of time. They should also be able to communicate effectively with customers about their needs and expectations.
A good way to find a reputable painting contractor is to look for one that is BBB-accredited. This means that they have committed to being trustworthy and meeting customer expectations. You can check the BBB website to find out if a company is accredited. Also, you should check with your local business bureau to see if the painter is licensed and insured. If they are not, then you should consider hiring someone else for the work.
Safety
Painters work in confined spaces and at heights, making them susceptible to falls. These fall hazards can be avoided by ensuring that all workers wear the right PPE (personal protective equipment) such as hard hats and eye protection. In addition, they should regularly check their equipment and ensure that it is working properly. They should also have a system in place to report any equipment or safety issues that they notice.
When painting in a residential environment, it is essential to maintain proper ventilation. This can be achieved by opening windows and using fans to help the fumes dissipate. In addition, painters should wear goggles and gloves to protect themselves from harmful chemicals in the paint and other contaminants.
Some paints can be flammable, so it is important for painters to store them away from heat sources and open flame. They should also make sure that any rags that have been saturated with paint thinner are kept away from flames until they can be safely disposed of. In addition, they should keep their tools away from hot surfaces and make sure that electrical fixtures are turned off before painting.
Asbestos is another potential hazard for painters. This material is commonly found in older buildings and can cause a variety of health problems, including anaemia and kidney disease. It is important for painters to be aware of the risks and take the appropriate precautions when handling asbestos.
Keeping a clean workspace is also important for painters to avoid slips and falls. This can be done by removing any clutter from the working area and putting away cords and other items that may cause tripping. In addition, painters should use ladders that are sturdy and free of any defects. They should also make sure that they are wearing the right footwear and taking frequent breaks to stretch, move around, and change their posture or position.
Time
Painting is a skilled job, and you can’t expect to get a professional finish on your own without the right tools and equipment. Hiring a professional house painter is an investment that yields exceptional returns. They provide quality workmanship, ensure safety measures, offer customisation options, and bring long-term cost savings.
While many people may consider DIY painting a cheaper alternative to bringing in professional contractors, it doesn’t always meet expectations in terms of quality and durability. Moreover, it requires juggling multiple responsibilities and can often be disruptive to everyday life. Professional painting contractors know how to handle the entire project from start to finish, eliminating the need for homeowners to manage the complexities of the task themselves.
There are several factors that determine how much time it takes for house painters to complete their work. First, the type and size of the room will influence the amount of paint required for a thorough application. A large living room will require more coats of paint than a small bedroom. Additionally, surface preparation is a crucial part of the process and can increase the overall timeline. Professionals are able to take this into account and adjust the schedule accordingly.
House painters also have the ability to advise homeowners on color selection and paint types. This helps them make informed decisions that align with their vision and style preferences. They can also help select the best paint products that are durable and easy to clean. These paints can withstand natural elements and regular use, significantly increasing the lifespan of your home’s exterior.
The time it takes to paint an interior or exterior space depends on the complexity of the project, but it can typically be completed in 1-3 weeks. This includes the time needed for surface preparation and cleaning. The process of repairing or replacing damaged wood will also extend the length of the project.
The most significant factor determining how long it takes to complete the job is the number of rooms being painted. If you’re planning to paint your entire home, it can take up to one week for a single professional to do the job.